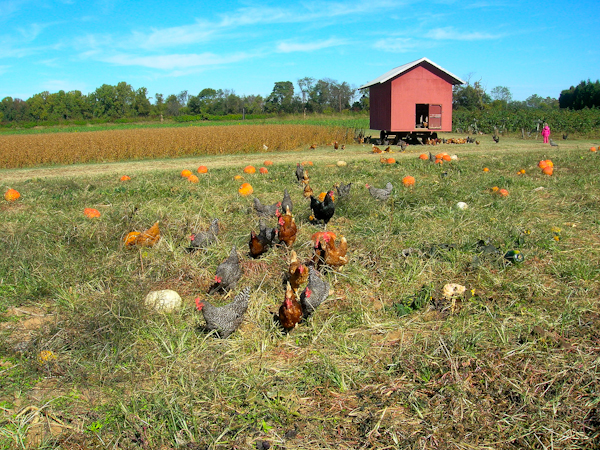
I will share a personal story in this blog post. My mother did not like to bake. As it turns out, I love to bake and loved it from the first time I was given a cake mix and a tub of frosting. Looking back, that was a weak moment for my mother. I am the youngest of five children. So, I suppose, that by the time I came around having a child underfoot in the kitchen when cooking for a family of seven…well, it can be a chore. I understand that feeling even though I only have two children.
I treasured the times that I actually got to bake. And, I especially loved the fall for it was the one time my mother would bake or rather prepare for baking. I think that was the most exciting part, the preparation. It was like being next in a line. The anticipation was almost better…almost.
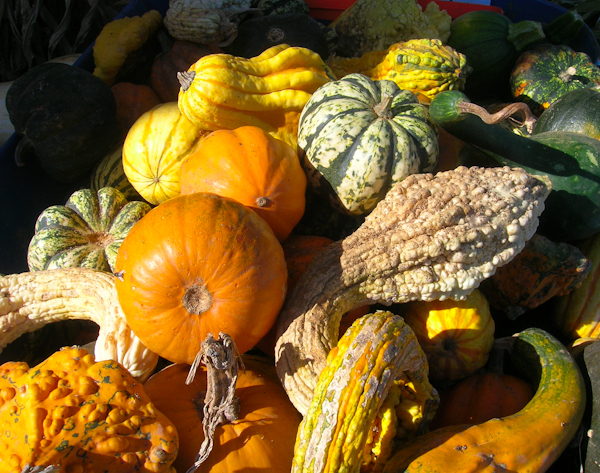
Every autumn my father would carve a pumpkin for Halloween. Of course we’d set the jack-o-lantern out with a candle. But, there was always a second pumpkin and the “carving” of this pumpkin was more delightful than the first. The second pumpkin was carved into pieces that were peeled. My mother would boil the pumpkin down and puree it. This was the base of joy on earth for me. I’m a pumpkin pie junkie. I admit it. It was the only pie my mother ever made. She never made an apple pie, not sweet potato or any berry pies, no chocolate cream pie either. She only made pumpkin pies and only to be served on Thanksgiving and Christmas. The waiting, the anticipation are perfect appetizers for they make your appetite grow.
You’ll have to wait until Tartlicious Tuesday for the pumpkin pie recipe as I love to make the same filling in a tart shell. For now I will leave you with guidance on cooking your pumpkin down and toasting those delicious pumpkin seeds.
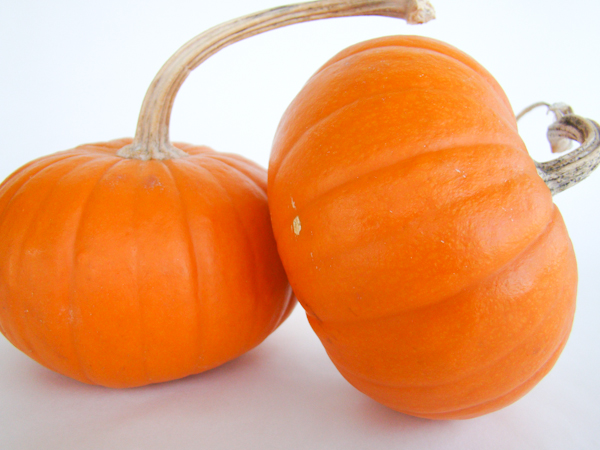
Cooking Down a Pumpkin
My mother had my father to clean out the pumpkin, cut it up while raw, peel it and hand it over ready for the pot. And, for many years I did it the same way. Then, one year I was very busy. I wanted the pumpkin, but not the labor. Thankfully, this was the same time that Martha Stewart popped onto my radar. It was in one of her books or on her show, maybe her magazine?...that I saw her method.
1. Line a cookie sheet with foil and pre-heat oven to 350 degrees
2. Cut the stem off your pumpkin in order to create a flat surface, but make certain to not cause any cracks.
3. Cut the pumpkin in half, creating two “bowls”.
4. Take the insides out, reserving the seeds in a bowl.
5. Place tinfoil on the bottom of the pumpkin “bowls”.
6. Place the pumpkin halves on the cookie sheet.
7. Pour water into the “bowls”. Fill ¾ of the way.
8. Carefully place the pumpkins into the oven.
9. When the peel of the pumpkin darkens test a piece to see if it will peel off easily.
10. The pumpkins may not be cooked through, but if the peel comes off easily the pumpkins are ready to be removed from the oven.
11. Let the pumpkins cool until they are able to be handled.
12. Peel the pumpkins and cut them into chunks.
13. Place 1-2 cups of water in the bottom of a large pot and add the cut pumpkin.
14. Cook the pumpkin over medium heat and as it softens mash down with a potato masher until all pumpkin is mashed.
15. Cook down until the pumpkin becomes less liquid.
16. Take the pot off the burner and cool.
17. Puree the pumpkin and then return to the pot to cook down more.
18. When the pumpkin has the thickness desired remove from heat. Let cool.
Place in storage containers and refrigerate for up to a week or freeze until ready to use.
It is at step 17 that I will mix in all the seasoning I’ll need for pumpkin pies or pumpkin cookies. When I need to make the pie, half the work is done already.
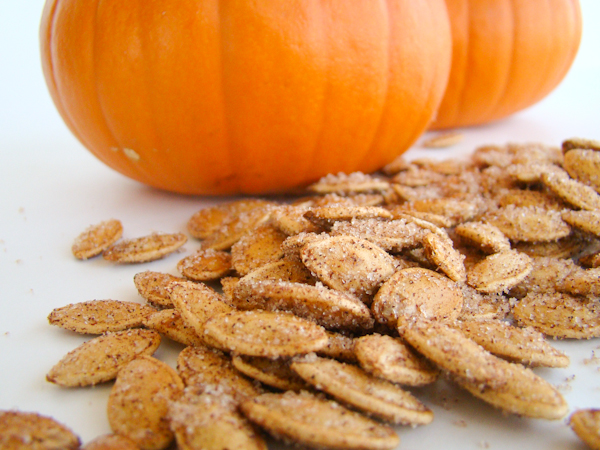
Cinnamon Sugar Toasted Pumpkin Seeds
1. While your pumpkin is in the oven soak the pumpkin seeds to clean them off.
2. Drain and rinse.
3. Pat dry with paper towels.
4. Line a cookie sheet with parchment or foil. Spread the seeds on the cookie sheet.
5. Once you have room in the oven bake the seeds for about 10-15 minutes depending on how toasted you want them to be.
6. When they are finished remove from the oven and cool.
7. Melt 1 tablespoon of butter.
8. Place seeds and butter in medium bowl.
9. Coat the seeds with the butter. Then add 2 tablespoons sugar and 1 tablespoon cinnamon in the bowl, tossing with the seeds. Spread mixture onto the cookie sheet to “dry”. If they sit in the bowls they will stick together.
The amount of sugar and cinnamon will vary to taste and by the quantity of seeds.
 I will share a personal story in this blog post. My mother did not like to bake. As it turns out, I love to bake and loved it from the first time I was given a cake mix and a tub of frosting. Looking back, that was a weak moment for my mother. I am the youngest of five children. So, I suppose, that by the time I came around having a child underfoot in the kitchen when cooking for a family of seven…well, it can be a chore. I understand that feeling even though I only have two children.
I treasured the times that I actually got to bake. And, I especially loved the fall for it was the one time my mother would bake or rather prepare for baking. I think that was the most exciting part, the preparation. It was like being next in a line. The anticipation was almost better…almost.
 Every autumn my father would carve a pumpkin for Halloween. Of course we’d set the jack-o-lantern out with a candle. But, there was always a second pumpkin and the “carving” of this pumpkin was more delightful than the first. The second pumpkin was carved into pieces that were peeled. My mother would boil the pumpkin down and puree it. This was the base of joy on earth for me. I’m a pumpkin pie junkie. I admit it. It was the only pie my mother ever made. She never made an apple pie, not sweet potato or any berry pies, no chocolate cream pie either. She only made pumpkin pies and only to be served on Thanksgiving and Christmas. The waiting, the anticipation are perfect appetizers for they make your appetite grow.
 You’ll have to wait until Tartlicious Tuesday for the pumpkin pie recipe as I love to make the same filling in a tart shell. For now I will leave you with guidance on cooking your pumpkin down and toasting those delicious pumpkin seeds.


the food dude
November 5, 2011 at 2:16 pm //
Great story, and cool photos! I enjoyed reading your story!
Nicole@TheGalleyGourmet
November 6, 2011 at 5:13 am //
Love making my own pumpkin purée– I just bake mine whole. Those pumpkins seeds look so good! I usually go the savory route because of the massive amounts of Halloween candy from my three trick-or-treaters, but I might just have to try this one next year:)
Richa@HobbyandMore
November 6, 2011 at 11:01 am //
thats a good collection of what to do with all the pumpkins.. they just rot most years if i dont get to them in time.. this year we dint pick any.. but i know some friends who are struggling to use theirs.. :)
Have a great day!
Maggie
November 6, 2011 at 12:12 pm //
Love the story, the photos and the easy peasy pumpkin puree recipe. I have great memories of baking with my Mom and hope to pass that tradition down to my little one. Thank you for sharing!
Yadsia @ShopCookMake
November 6, 2011 at 2:02 pm //
It’s definitely all about the pumpkin. I’m so glad it’s fall!
Stephanie
November 6, 2011 at 11:27 pm //
gotta love Martha! This method looks do-able and the pay off must be so great when you end up with fresh puree!
Tiffany
November 7, 2011 at 1:20 am //
Great post! I have always wanted to make my own pumpkin puree, thanks for sharing this method, I might just try it yet!
Tina@flourtrader
November 7, 2011 at 4:36 am //
Great story and very informative post about using fresh pumpkin. Puree has so many wonderful uses and the seeds do make for a great snack. Thanks for sharing.
Cucina49
November 7, 2011 at 4:41 am //
Great photos–and thanks for sharing your family stories. My mother cooks and bakes, but I’ve turned into way more of a foodie than either of my parents.
myfudo
November 7, 2011 at 9:04 am //
Thank you so much for commenting everyone!
myfudo
November 7, 2011 at 9:05 am //
Thank you Tina, Cucina, and Tiffany.
myfudo
November 7, 2011 at 9:05 am //
Thank you Nicole and The Food Dude!
myfudo
November 7, 2011 at 9:06 am //
Thank you Richa and Maddie.
myfudo
November 7, 2011 at 9:06 am //
opps I meant thank you Maggie!
myfudo
November 7, 2011 at 9:06 am //
Thank you Yasida and Stephanie!
jms
November 7, 2011 at 9:16 am //
Love the website
anh
November 7, 2011 at 10:04 am //
Such an excellent post! I love reading the story…
Carolyn
November 8, 2011 at 4:57 am //
I actually needed this exact thing, a tutorial on how to cut up and peel a pumpkin, as I have an idea for a recipe with it, but I’ve never done it before! Thanks.