There are times when we take photos and look at them after only to realize that they appear a little too dark or underexposed. An afternoon scene could look like an impromptu eclipse occurred and everyone’s smiling faces are in shadow. We can do a reshoot but sometimes it just isn’t possible. The moment may have passed, or it might be expensive to do a retake, or the subject is not available, or we’re just too lazy to get up, drag all our camera equipment to the location and shoot again with the right exposure settings this time around.
{Dark Photo}
Don’t worry, post-processing to the rescue! Fixing dark photos with an image editing program might just be our next best and probably most convenient option. Keep in mind that not all dark photos can be saved and brightened up, whether you are using Photoshop or Lightroom. Sometimes, the dark patches in the shot are just too black that there are no details to bring out to the light. But for those that are not too far gone into the Dark Side, a few basic brightening techniques can work wonders for your gloomy photos. The tools in Photoshop and Lightroom might look and be labeled differently but the principles are the same. Also, there are various ways to brighten up photos in both programs and I’ll list a few here:
Lightroom:
Exposure– drag the exposure slider to +1.00 stop or higher to brighten up the photo.{
Screen Shot Here} The more you drag it, the brighter it goes to the point where light areas (highlights) can become blown out and lose their details. Also, the dark areas can start losing contrast and the entire photo can appear overexposed. We wouldn’t want that to happen so just drag it back down until you are satisfied with the outcome. {
Video here}
Brightness (Lightroom 3) – Unlike the Exposure, the Brightness tool can make your lighter areas appear brighter while the dark areas remain in shadow. In the new released Lightroom 4, you have whites, increase, you increase the white space, decrease, the whites become darker. While I like this new tool in Lightroom 4, I'd like them to bring back "Brightness" and "Fill Light".
Fill Light (Lightroom 3)– this tool acts like a real fill light by brightening very dark areas and showing more detail without blowing out the light areas. Just be careful because too much will create noise plus the photo will lose some contrast. If you have upgraded to Lightroom, you can use the "Whites" to decrease or increase the white space, but I'll talk more in depth about that later.
I’m no expert and I’m sure there are more ways to brighten photos in Photoshop and Lightroom. After practicing your editing skills and getting used to your software, whichever you’re using, you’ll soon get the hang of it. Remember to save your edits once in a while!
{ Adding more Shadowing}
So now the next question is what photo editing program to use: Photoshop or Lightroom? I can’t really decide that for you, can I? I do have my preference (Adobe Lightroom 4). I guess the very simple answer would be to use what you’ve got. If you have both, use the one you’re most comfortable with, the one with results that satisfy you the most. They’re both fantastic and powerful image editing software, and either one can make your photos look brighter and more attractive.
{Shooting at 100 ISO and a Tripod for Sharp Images}
Photoshop:
Levels adjustment – you can brighten up a photo by dragging the gray slider a little to the left of the histogram in the Levels adjustment screen. To add contrast, drag the white slider to the left. This will also brighten the image but with less of the washed out look. Photoshop Elements go to Enhance, Brightness/Contrast and adjust accordingly.
{Adjusted by 80%}
Brightness/Contrast adjustment – this is a very simple tool where you can see quick results. Simply drag the brightness slider to the right to lighten up the shot, do the same with the contrast slider it doesn’t look overexposed. Just a little movement of the sliders can go a long way in making your photos nice and bright.
Auto Levels - if you want to brighten up your photo in a jiffy, you might want to try clicking on auto levels first to see if it’ll fix your shot the way you like. You’d be surprised! As you can see, in my not so humble opinion, Lightroom is far better for post processing.
{Auto Levels in Photoshop Elements 10}
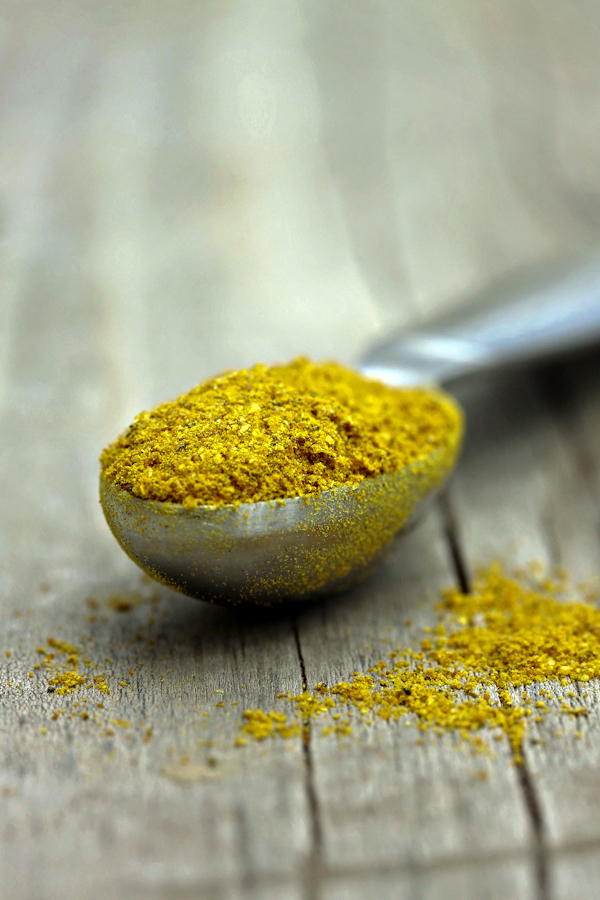
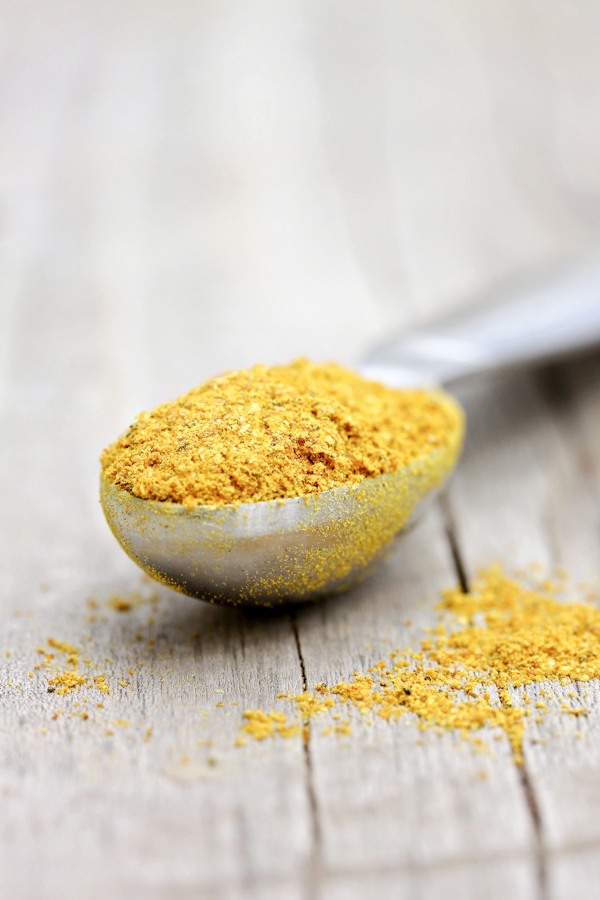
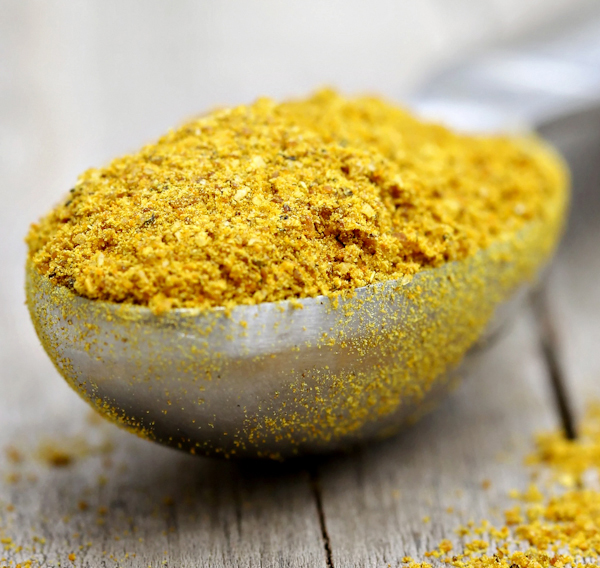
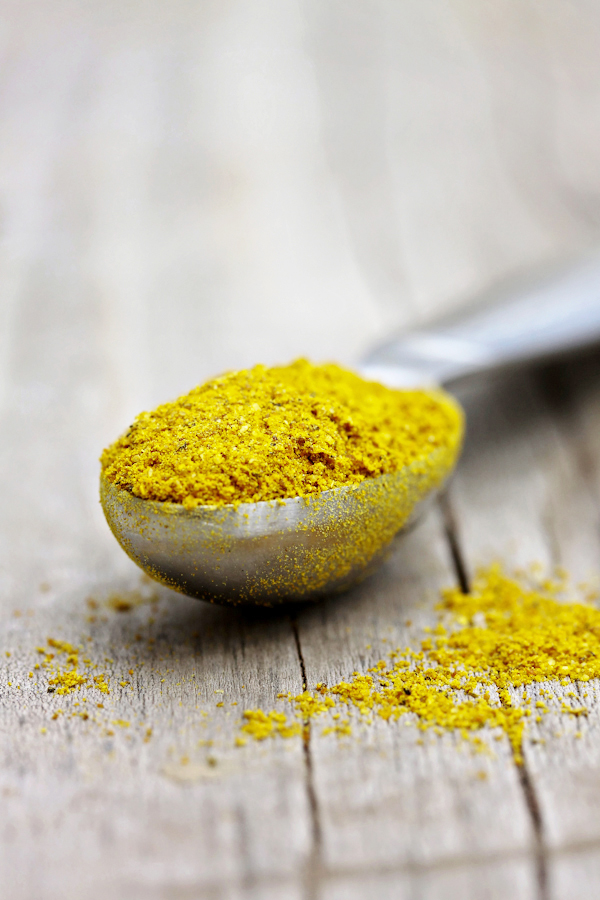
Homemade Curry Spice
If you don't have your favorite on hand (ours is S&B Curry Spice Mix which comes with and without salt added) This recipe is adapted from Chef Dancer on Food.com.
Ingredients
4 1/2 teaspoons ground coriander
2 teaspoons turmeric
1 1/2 teaspoons cumin seeds
1/2 teaspoon whole black peppercorns ( 1/2 to 1)
1/2 teaspoon crushed red pepper flakes ( 1/2 to 1)
1/2 teaspoon cardamom, whole,without pods
1/2 inch cinnamon sticks
1/4 teaspoon whole cloves
1/4 teaspoon ground ginger
Directions
In a blender container, place all. Cover and grind for 1 to 2 minutes or till mixture is a fine powder.
Store spice mixture in airtight container in cool dry place.
 There are times when we take photos and look at them after only to realize that they appear a little too dark or underexposed. An afternoon scene could look like an impromptu eclipse occurred and everyone’s smiling faces are in shadow. We can do a reshoot but sometimes it just isn’t possible. The moment may have passed, or it might be expensive to do a retake, or the subject is not available, or we’re just too lazy to get up, drag all our camera equipment to the location and shoot again with the right exposure settings this time around.
{Dark Photo}
 Don’t worry, post-processing to the rescue! Fixing dark photos with an image editing program might just be our next best and probably most convenient option. Keep in mind that not all dark photos can be saved and brightened up, whether you are using Photoshop or Lightroom. Sometimes, the dark patches in the shot are just too black that there are no details to bring out to the light. But for those that are not too far gone into the Dark Side, a few basic brightening techniques can work wonders for your gloomy photos. The tools in Photoshop and Lightroom might look and be labeled differently but the principles are the same. Also, there are various ways to brighten up photos in both programs and I’ll list a few here:
Lightroom:
Exposure– drag the exposure slider to +1.00 stop or higher to brighten up the photo.{Screen Shot Here} The more you drag it, the brighter it goes to the point where light areas (highlights) can become blown out and lose their details. Also, the dark areas can start losing contrast and the entire photo can appear overexposed. We wouldn’t want that to happen so just drag it back down until you are satisfied with the outcome. {Video here}
Brightness (Lightroom 3) – Unlike the Exposure, the Brightness tool can make your lighter areas appear brighter while the dark areas remain in shadow. In the new released Lightroom 4, you have whites, increase, you increase the white space, decrease, the whites become darker. While I like this new tool in Lightroom 4, I'd like them to bring back "Brightness" and "Fill Light".
Fill Light (Lightroom 3)– this tool acts like a real fill light by brightening very dark areas and showing more detail without blowing out the light areas. Just be careful because too much will create noise plus the photo will lose some contrast. If you have upgraded to Lightroom, you can use the "Whites" to decrease or increase the white space, but I'll talk more in depth about that later.
I’m no expert and I’m sure there are more ways to brighten photos in Photoshop and Lightroom. After practicing your editing skills and getting used to your software, whichever you’re using, you’ll soon get the hang of it. Remember to save your edits once in a while!
{ Adding more Shadowing}
 So now the next question is what photo editing program to use: Photoshop or Lightroom? I can’t really decide that for you, can I? I do have my preference (Adobe Lightroom 4). I guess the very simple answer would be to use what you’ve got. If you have both, use the one you’re most comfortable with, the one with results that satisfy you the most. They’re both fantastic and powerful image editing software, and either one can make your photos look brighter and more attractive.
{Shooting at 100 ISO and a Tripod for Sharp Images}
 Photoshop:
Levels adjustment – you can brighten up a photo by dragging the gray slider a little to the left of the histogram in the Levels adjustment screen. To add contrast, drag the white slider to the left. This will also brighten the image but with less of the washed out look. Photoshop Elements go to Enhance, Brightness/Contrast and adjust accordingly.
{Adjusted by 80%}
 Brightness/Contrast adjustment – this is a very simple tool where you can see quick results. Simply drag the brightness slider to the right to lighten up the shot, do the same with the contrast slider it doesn’t look overexposed. Just a little movement of the sliders can go a long way in making your photos nice and bright.
Auto Levels - if you want to brighten up your photo in a jiffy, you might want to try clicking on auto levels first to see if it’ll fix your shot the way you like. You’d be surprised! As you can see, in my not so humble opinion, Lightroom is far better for post processing.
{Auto Levels in Photoshop Elements 10}


maha
April 1, 2012 at 3:49 am //
wow…u done this powder perfectly. n the pics r very clean n cool.
Tiffany
April 1, 2012 at 7:25 am //
Great tips! And great curry! Thanks for sharing! :D
Priscilla M
April 1, 2012 at 7:28 am //
I just recently switched to Lightroom 4 and still in the process of getting used to it. Thanks for the tips and tricks, been enjoying it immensely.
Alyssa
April 1, 2012 at 4:26 pm //
Just downloaded lightroom, so this could not have come at a more perfect time for me. Love the curry too, very pretty!
Jill Colonna
April 1, 2012 at 9:43 pm //
Super tips you have here and what incredible photos!
Christele
April 1, 2012 at 11:09 pm //
Thank you for the amazing tips, great photos!
Jesica @ Pencil Kitchen
April 2, 2012 at 3:14 pm //
I often just go about changing them till I like them! That’s why my photographs are never stable! I always love your photography! Am constantly jealous of it!
kitchenriffs
April 3, 2012 at 1:24 am //
Good tips. My impression is that because Lightroom and Photoshop both share the Adobe Camera Raw (ACR) engine, that when doing raw conversions, both work the same way (you can also open up JPEGs in ACR, but if you can shoot in Raw, IMO you should). At least I’m currently using a version of Photoshop that’s several years old and its ACR converted has the same tools as Lightroom 3 (although Lightroom has some other functionality). I’m going to upgrade one more time to Photoshop when the new version is available, but going forward I’m going to be using Lightroom. Photoshop is great if you need to do heavy duty editing at the pixel level, but I rarely need to do that – it’s mainly exposure tweaks, and for that Lightroom is great, and significantly cheaper. Anyway, good post – thanks.
myfudo
April 3, 2012 at 12:44 pm //
OH, and guess what, Adobe Lightroom 4 was just released, do you think you’d try that out before upgrading your photoshop software? If I had to choose between Elements and Lightroom, it would be Lightroom, but we also use photoshop for each post, I do wish both were merge of some sort, this way we don’t need to run two programs, Post Processing Utopia “wink” = )
I shoot in both, raw and JPEG, but it depends, sometimes I use/edit the raw image and other times I use the JPEG with the effects intact, I do like having control using raw though = )
Cindy
April 4, 2012 at 9:36 am //
Yet again, another amazing and very helpful post, thank you so much!
Elizabeth @ Eating Local in the Lou
April 6, 2012 at 5:09 am //
This was so helpful- I need all of the help I can get in making my pics look good enough to eat (my food really does taste good Im just a novice at photography!!) Thanks for sharing!
myfudo
April 6, 2012 at 8:58 am //
We are so happy our tips and tutorials are helpful, thank you so much for commenting.
Tina
April 9, 2012 at 3:08 pm //
Sooo glad I came by. I enjoy food photography and am a beginner at it so thanks for sharing tips!
Kiran @ KiranTarun.com
April 12, 2012 at 12:45 am //
Thanks for the tips! I use tripod so much, and it’s important if you want to shoot in 100 iso ;D
Yolanda
August 28, 2012 at 8:25 pm //
- I think that letting go of self doubt is seitohmng we ALL struggle with. As someone who is just starting out in the industry I think the intimidation is the worst. But i have to say that after listening and learning from Jasmine, I am a brand new person and it seems that you are too. Being involved and having people hold you accountable is really awesome! Thanks to her, I am not afraid to put it out there either and before her, I would have never even had the courage to post on YOUR blog! Thanks for sharing
Sumed
August 29, 2012 at 2:23 am //
, And what reward are you gnetitg from that action? It’s so true!!! You felt so good about being amongst The Wolf Pack ~ because it was all positive ~ you were gnetitg reward from hanging with the people with the same likes.. Now take it & run with it, don’t look back, and don’t doubt it!!! Allow yourself to be rewarded through your future photographic accomplishments as well Congrats on your new-found fam of photographers and Good Luck to you!!!!Cheers,Kari